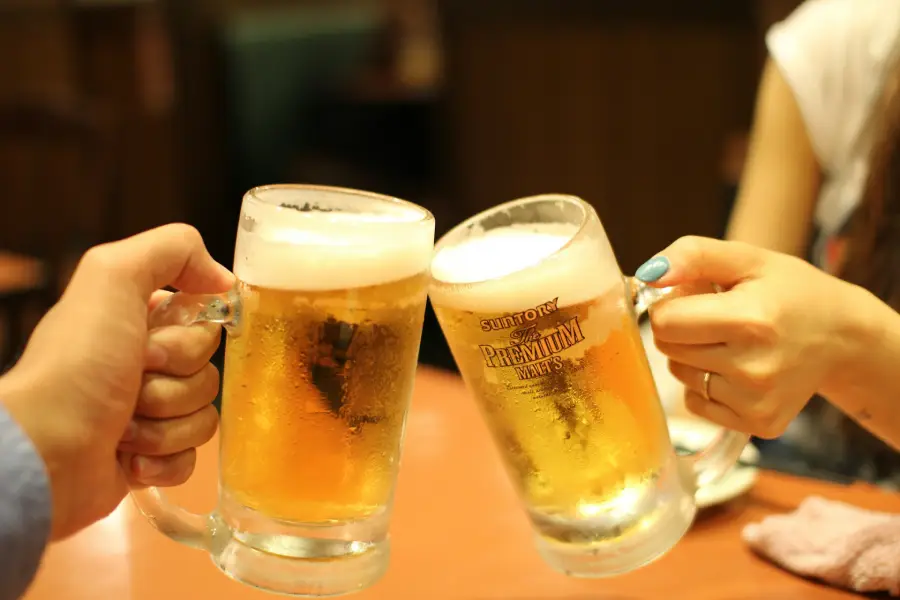
Are you planning to venture into homebrewing but don’t understand how to make non-alcoholic beer at home? It’s simpler than you might think and allows you to enjoy a tasty, alcohol-free brew. With the right method, you can craft your own flavorful drink.
How to Make Non-Alcoholic Beer at Home
Whether you are venturing into beer brewing or have been in the game for years, making your own alcohol-free beer is a fun and rewarding project. It allows you to infuse beer with ingredients that suit your test. For instance, you can add cinnamon, chocolate or ginger to the beer to enhance its taste.
With proper procedure and ingredients, you can create a delicious, refreshing, alcoholic-free beer that is perfect for any occasion. The following is a step-by-step guide to help you create a mouth-watering beer:
Step 1: Gather the Materials
Here are some of the things you will need to make your beer:
- Yeast: Yeast is what turns the sugars in the malted grains into alcohol during the brewing process. For this type of beer, you will use a special yeast strain that doesn’t produce more alcohol. For instance, you can use SafBrew LA-01, which ferments at 50 to 77 degrees Fahrenheit.
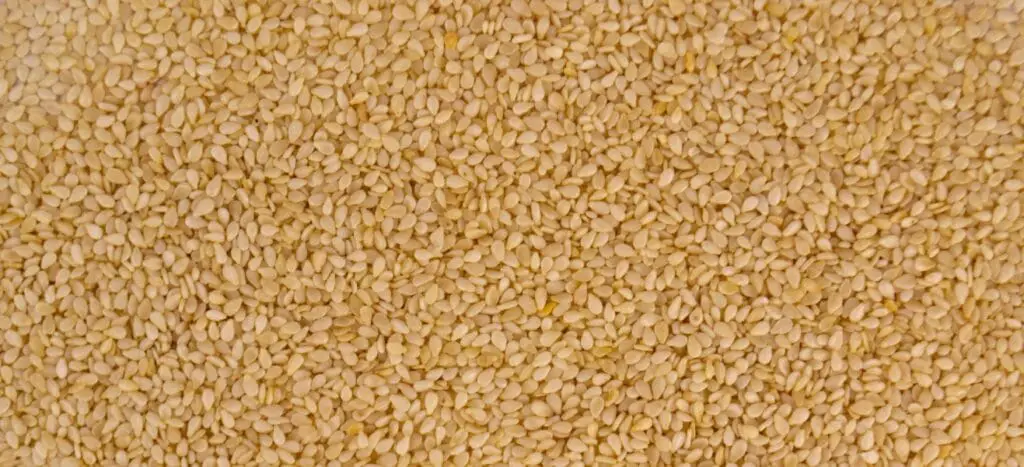
- Malted Grains: Malted grains provide the food that yeast works on to produce alcohol and carbon dioxide. There are different types of malted grains ranging from barley, rice, rye, oats and wheat. The commonly used grain is malted barley.
- Hops: Hops contain acids (Alpha Acids) that produce a bitter taste when boiled. This bitter taste is what balances the sweetness in the wort. Lindnera jadinii is one ideal type of hop to use when brewing non-alcoholic beer.
- Water: You will need fresh water to make your beer. Opt for filtered water to avoid the hassle of constant check.
- Flavorings (optional): Some non-alcoholic beers may also include additional flavorings, such as fruit extracts, chocolate or spices, to give them a unique taste.
- Equipment: You will need basic brewing equipment, such as a large pot, a fermenting vessel, a thermometer, a hydrometer, and a bottling bucket. You may also need bottles, caps, and a capper to bottle your finished beer.
- Heat Source: Beer brewing uses large amounts of hot water. That is why you must have a heat source. You can use a stovetop or oven.
Step 2: Grind and Steep the Grains
Brewing non-alcoholic beer undergoes the same steps as brewing normal beer. Now, the first thing to do is grind your malted grains. Grinding the grains increases the surface area for better extraction. This, in turn, increases yield and improves efficiency of the brewing process.
After grinding, wrap the grains in a mash bag or a cheesecloth. Next, fill your brewing kettle or pot with water (the amount of water will depend on the quantity of beer you want to brew) and heat on a stovetop.
After heating for about 20 minutes and the temperature has reached 160 to 175 degrees Fahrenheit, lower the mash bag into the brew kettle. Remember to maintain the temperature range. A higher temperature may extract the tannins, making your beer more bitter.
Step 3: Add Hops
Now that you have your wort (the sweet liquid), you need to introduce hops that will balance its sweetness. However, before adding hops, you need to add malt extract and stir well to dissolve. Malt extract increases fermentable sugars, boosts gravity, improves flavor, color, and body. It also saves time in the brewing process.
Now add hops at intervals while maintaining the temperature (160-175 degrees Fahrenheit). Remember that besides balancing the sweetness in the wort, hops can also add aroma and flavors. It also acts as a preservative, increasing the lifespan of your beer.
Step 4: Cool the Wort
The next step is to cool your wort rapidly. The reason for cooling your wort rapidly is to ensure the protein in it clumps together and settles out. This helps achieve a clearer, better-looking brew. You can place the whole brew kettle in an ice bath to cool quickly.
Now take your hydrometer and measure the original gravity. Don’t forget that we are brewing alcohol-free in a normal brewing way. Therefore, it must contain traces of alcohol(at least 0.5% ABV). Measuring the Original Gravity (OG) will help you calculate the ABV of your beer.
Step 5: Add Yeast and Ferment
After cooling and measuring the Original Gravity, put the wort in a clean fermenting vessel. Next, pitch your yeast. Ensure you sanitize the equipment you are using to cut your yeast pack. This will ensure you don’t introduce contaminants to your beer that could later compromise the flavor.
Seal the fermenter and store it in a cool and dry place for up to two weeks. This will give the yeast time to consume the fermentable sugars in the wort and, in turn, produce alcohol and carbon dioxide. The fermenter is stored in a cool place to ensure a low temperature that helps produce beer with a low ABV.
After two weeks, measure the beer’s Final Gravity (FG) using a hydrometer. You don’t need to dip the hydrometer into the whole batch, which could introduce contaminants. Just take a sample and get the FG, then do the calculation. Use the formula ABV = (OG – FG) * 131.25 to calculate the alcohol by volume (ABV)
Step 6: Separate the Alcohol From the Beer
Remember, the main mission here is to brew alcohol-free beer. Now that we have used the normal brewing procedure, the beer must contain traces of alcohol. That is why we need to do the separation.
The easiest method is boiling beer to evaporate the alcohol. Note that alcohol can evaporate at a lower temperature than water. Therefore, when you heat the combination, alcohol evaporates, leaving water behind. Here is a step-by-step procedure:
- Place the beer in a suitable container: This could be a stainless steel pot or a brew kettle.
- Put the beer through the heating process: You can use a stovetop or an oven. Experienced homebrewers prefer to use an oven since it provides even heat.
- Heat the beer at a constant temperature of 175 degrees Fahrenheit for 30 minutes(if using an oven). It will take less time when using the stovetop (15-20 minutes)
- Taste your beer: After the time has elapsed, you can taste it to see if it still contains alcohol. If there is no alcohol, move to the next step.
- Cool the remaining liquid: The remaining liquid is now your alcohol-free beer. Transfer the pot or your brew kettle to an ice bath for cooling. This takes about two hours.
A point to note is that heating beer makes it more bitter. So, make sure you use a small amount of hops or one with low alpha acids, such as Saaz and Hallertauer.
Step 7: Carbonate the Beer
There are two ways of carbonating alcohol-free beer. You can either use carbon dioxide pressurization or natural yeast action. Most homebrewers prefer using natural yeast action since it is cheaper. Don’t worry; we will discuss all the processes so you choose the one that will work best for you.
The yeast action involves adding sugar plus yeast to carbonate the beer. Remember that when you heated the beer to remove alcohol, yeast that aids in carbonation was killed. That is why you must introduce another yeast plus priming sugar to ensure your beer carbonates. Here is the procedure for adding yeast:
- Dissolve the priming sugar into the beer
- Dehydrate the yeast by dissolving it in a cup of warm water for 15 to 20 minutes
- Add dehydrated yeast to the beer and wait for the beer to carbonate. This should take at least two weeks.
Carbon dioxide pressurization requires a keg, CO2 cylinder, tubing and a CO2 beer regulator. Connect the CO2 cylinder to your keg and turn on the gas. Use the regulator to adjust pressure until you achieve a 40-psi. Shake your keg for about 20 minutes to ensure the CO2 gas dissolves into the beer.
Next, lower the pressure to 20-Psi and allow beer to carbonate for 2 to 3 days. You can either bottle your beer or leave it in the keg if you are familiar with the beer dispensing system. That is it; you have made your non-alcoholic beer!
Related Questions
How Do You Make Non-alcoholic Beer Taste Better?
To improve the taste of non-alcoholic beer, start by adding fruit or citrus slices for a fresh twist. You can also try adding a dash of beer salt to balance flavors. Experiment with spices like coriander or ginger for a unique kick. Serving it ice cold enhances its refreshing taste.
Is Non-alcoholic Beer Bad for You?
No, alcohol-free beer is not bad for your health. The beer contains very little to no alcohol and can be a good alternative for those who want to avoid alcohol. However, make sure you drink in moderation, as this type of beer may contain carbs, which can make you gain weight.
Is Heineken 0 Really Alcohol-Free?
Heineken 0 is alcohol-free according to its label. This beer contains 0.00% alcohol by volume, making it safe for individuals who want to avoid or limit their alcohol intake. The beer also pairs well with other dishes like seafood, grilled meat, burgers and chicken.
Conclusion
Brewing your own non-alcoholic beer is a simple and fun process that allows you to experiment with different ingredients. It only requires basic brewing equipment, key ingredients, and dedication to produce a delicious alcohol-free beer. With continuous practice and dedication, you will master the art of producing such a beer. Happy Brewing.