Learning how to ferment beer at home brings the artistry of brewing right to your kitchen. It’s a hands-on process that lets you experiment with ingredients and flavors to create something truly unique. From choosing malts to managing yeast, each step shapes your final brew. Crafting beer becomes both fun and flavorful.
How to Ferment Beer at Home
Start by gathering the needed equipment and materials. You’ll need a brewing kettle, fermenter, airlock, thermometer, stirring spoon, and bottles. For ingredients, get malt extract, grains, hops, yeast, and sanitizing solution. You can find these items at most homebrew stores or online.
To ferment beer at home, boil water in your kettle, then soak your grains for flavor extraction. Remove the grains and add malt extract, stirring until it dissolves. Pour the mixture into a fermenter, like a glass carboy or plastic bucket.
Next, add yeast to start the fermentation. Make sure you pitch yeast at a favorable temperature (typically 65–75°F for ales and 49 to 59°F for lagers). Use an airlock to allow gases to escape while keeping hindering oxygen from entering the fermenter. Keep the fermenter in a dark place for up to two weeks.

Immediately after pitching yeast, take note of the original gravity. This will help you calculate the alcohol content of beer after fermentation. You can use a hydrometer or refractometer. Leave the beer to ferment. After fermentation, take the final gravity. Use the original gravity (OG) and the final gravity (FG) to calculate the ABV.
Fermenting Beer at Home: Step-By-Step Guide
Fermenting beer requires attention and dedication to make sure your final product is top-notch. The following steps will help you come out with a well home brewed beer:
Step 1: Gather the Ingredients and Equipment
You will need the following ingredients and equipment:
- Yeast: Yeast is what will consume the sugars in the wort to produce alcohol and carbon dioxide. The type of yeast you will use depends on the kind of beer you are brewing. You can use ale or lager yeast to pitch. Remember to have a healthy yeast.
- Hops: Hops add bitterness, aroma, and stability to balance the beer.
- Water: Water serves as the main ingredient, influencing the beer’s mouthfeel, flavor profile, and chemical reactions.
- Flavoring agents (Optional): Flavoring agents add unique tastes and aromas to beer. Common flavoring agents include fruit, spices, herbs, coffee, and chocolate.
- Fining agents (Optional): Fining agents help clarify beer by binding with suspended particles, and promote sedimentation for a cleaner appearance. Common fining agents include gelatin, isinglass, and bentonite.
- Malt Extract: Malt extract provides fermentable sugars, color, and flavor for beer.
- A hydrometer or refractometer: These materials will help you calculate the original and final gravity. Without the equipment, you will not be able to know the ABV of your beer.
- A fermentation vessel: This is where fermentation will take place. There are different types of fermentation vessels. For instance, you can use glass carboys, plastic buckets, oak barrels, or wood tanks.
- Airlock: An Airlock is a device that helps prevent oxygen from entering the fermenter.
- Thermometer: Use this to monitor your fermentation temperature.
- A test tube: You will use a test tube to take a sample when measuring your beer’s original and final gravity.
- A strainer or funnel: These will help you filter out hops when transferring beer into the fermenter.
- Brew kettle: The kettle is used to boil wort.
Step 2: Clean and Sanitize the Equipment
Cleaning helps remove unwanted particles, debris, and dust on the surfaces of your equipment. Sanitizing, on the other hand, helps eliminate harmful bacteria, microorganisms, and viruses from the surfaces. Do not just use any cleaning solution; purchase one specifically meant to be used on brewing equipment. You can buy PBW (Powdered Brewing Wash) or Oxiclean.
Mix water and a cleaning solution (read the package for the correct mixing ratio). Next, soak the equipment (in hot water) for about ten minutes. This will help loosen the debris, making it easier to clean the equipment. After ten minutes, clean the equipment, allow to dry, and sanitize before moving to the next step.
Step 3: Boil the Wort and Add Hops
Add the prepared wort into a brew kettle and boil it to a temperature of 212 degrees Fahrenheit for about 60 minutes. There are various reasons why wort is boiled before pitching yeast. Here are some of the reasons:
- To sterilize the wort
- To concentrate the wort
- To remove unpleasant aroma compounds
- To coagulate proteins
- To help extract bitterness from hops
- To adjust wort color and flavor
Step 4: Bring the Wort to a Pitching Temperature
Bringing down the wort to a pitching temperature allows your yeast to work well during fermentation. Adding yeast to a hot wort may kill it, leading to offensive flavors. The pitching temperature will depend on the type of yeast you will use. For ale yeast, you will need 67 to 72°F; for lager, 49 to 59°F is ideal.
Always cool your wort rapidly before pitching yeast to prevent contamination. Cooling it rapidly also helps thicken its long protein chains and lowers levels of dimethyl sulfide in the final beer. In simple terms, cooling your wort should take up to 15 minutes.
We understand homebrewers do not have sophisticated equipment like commercial brewers to help cool the worts rapidly. However, that does not mean the process shouldn’t take place smoothly. The following steps will help you out:
- Fill your sink or a large bucket with cold water and add ice cubes.
- Add wort into an ideal vessel (the vessel should be smaller than the sink or the bucket that will hold water and ice).
- Place the wort vessel into the sink or large bucket. Ensure the wort vessel is not submerged in the ice water. You want to avoid letting water enter your wort.
- Swirl the wort vessel in the sink every couple of minutes. You can also use a clean and sanitized spoon to stir your wort every 5-7 minutes.
- Use your thermometer to check if you have reached the pitching temperature.
Step 5: Transfer Wort Into the Fermentation Vessel
Now that you have cooled your wort to an optimal pitching temperature, it is time to transfer it to the fermentation vessel. First, position a strainer or funnel over the fermenter before pouring your wort. The strainer helps filter out hop particles that could otherwise clog your fermenter. Straining hop particles also helps ensure you have a clear brew.
Make sure you splash your wort when adding it to the fermenter. Splashing introduces oxygen that will help yeast grow faster. Next, add a little water (it should be clean), secure the lid, and shake to mix.
Step 6: Take the Original Gravity of Your Wort
The original gravity (OG) measures the amount of sugar in wort that yeast will later consume to produce alcohol. Understanding the OG of wort is required to help you later know the exact ABV of beer. You can either use a hydrometer or refractory to get the OG.
Use a test tube to take a sample of wort—Next, deep a hydrometer into a test tube to get the readings and record. Remember to take the readings from the bottom of meniscus to have an accurate figure. Do not pour back the sample into the main wort, as it could contaminate your beer.
Step 7: Pitch the Yeast
After bringing wort to a pitching temperature and taking gravity readings, you need to pitch yeast. Yeast is what will eat the sugars in wort to produce alcohol and carbon dioxide. So, you must be very careful when pitching yeast, as any little mess may impact the final product.
There are two ways of pitching yeast. We will discuss both, so you choose one that works well for you.
Dry Yeast
This is the easiest way of adding yeast to your wort. All you need to do is cut open the packaging and drop yeast into the wort. The number of packets you need to use will depend on the amount of beer you want to brew.
After adding yeast, use a spoon to stir the mixture for about three minutes. Make sure the spoon is clean and sanitized. If you are using a sanitizer, ensure it is odorless to avoid introducing unwanted flavors to the beer.
Hydrated Yeast
This method of pitching yeast involves hydrating dry yeast in water before adding it to the wort. Hydrating yeast helps it absorb more water in its membrane so that it can metabolize and begin the fermentation process. Follow these steps to hydrate your yeast:
- Boil water, add to an ideal cup, and leave to cool
- Add yeast and allow it to absorb water into its membranes
- Cover the cup (the one holding your mixture), and let it sit for about 15 minutes
The mixture should create a foam or have a bread-like smell after 15 minutes. If you don’t see the foam or feel the smell, then there is something wrong with your yeast. It may have been damaged, or it is old. So you need to get a healthy one.
Step 8: Seal and Allow to Ferment
After adding yeast (using the method that works best for you), allow the fermentation to take place. First, attach an airlock and stopper to the fermentation vessel. An airlock helps keep an anaerobic atmosphere during fermentation. It also prevents air entry into the fermentation vessel while allowing carbon dioxide to escape.
After sealing the fermenter properly, place it in a dark place and keep monitoring for about two weeks. Remember to stick to the fermentation temperature. Normal ales ferment at 68 to 72 °F, while lagers ferment 45 to 55 °F. So, monitor and adjust fermentation temperature regularly.
There are various ways you can control your fermentation temperature. For instance, you can increase temperature by wrapping your fermenter with an insulated blanket or neoprene. To lower the temperature, drop your fermenter in a tube of water or ferment with an immersion wort chiller in place.
So, how will you know that fermentation is taking place and is progressing well? Here are the tips:
- When bubbles escape from the airlock
- When particles are swirling in the beer. This means that there are activities taking place
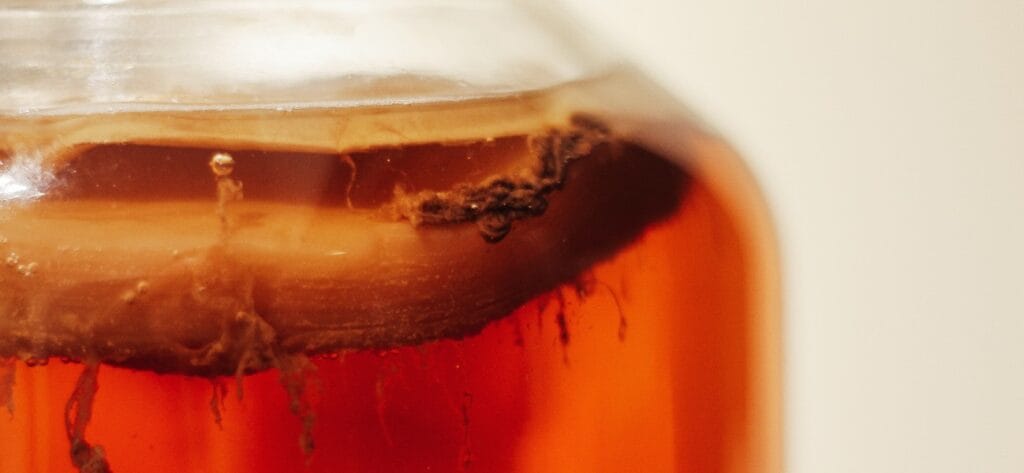
- When Krausen (a yeast cake) is forming on top of your beer
- When trubs are forming at the bottom of the vessel.
Step 9: Check if Fermentation Is Finished
It is now time to check if fermentation is finished before moving to the next step. This should be done after about two weeks. However, this time depends on the type of beer you are brewing, as some take even six weeks.
Here are some tips that will help you know if fermentation is finished:
- When yeast clumps together and falls at the bottom of your fermenter
- When the gravity of beer has stayed at the same level for 2 to 3 consecutive days. This means all sugars have been consumed
- When no bubbles are forming inside the airlock
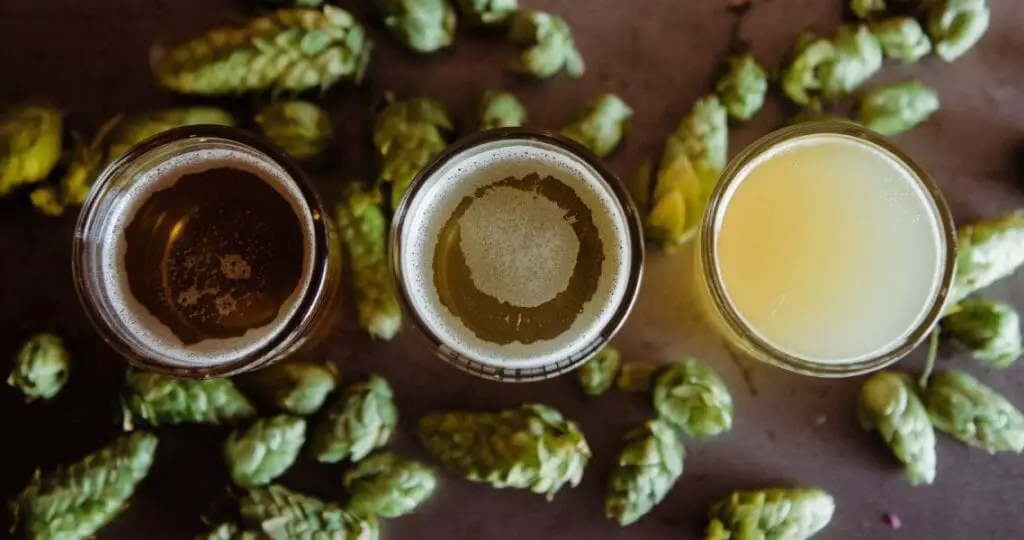
- When the beer becomes clearer
Step 10: Take the Final Gravity and Calculate the ABV
After fermentation has stopped, you need to take final gravity (FG) to help you calculate the ABV. You will still use a hydrometer or a refractometer to get your FG. To get the readings, retrieve a sample in a test tube and use a hydrometer to get the readings. Again, take the readings from the bottom of the meniscus to get accurate figures.
Now, calculate the ABV of your beer using the two figures (FG and OG). This is how it is done: find the difference between the two figures and multiply the result by 131.25. Here is the formula: (OG-FG) *131.25. This will give you the ABV of beer in percentage.
Step 11: Add Fining Agents (Optional)
These are substances added at the end of beer brewing to remove organic compounds. Removing organic compounds helps improve beer’s clarity or adjust the flavor and aroma of your beer. Some of the most common fining agents include:
- Gelatine: It is an odorless and tasteless fining agent that helps make beer particles settle at the bottom out of suspension. If you are brewing a 5-gallon batch, add one teaspoon to pre-boiled water (one cup is ideal) and allow to dissolve. Allow the mixture to cool to room temperature before adding it to your beer.
- Isinglass: This one is derived from fish bladder and works well without altering the flavor of your beer. Add one teaspoon to every 5-gallon batch and wait for your beer to be clear
- Irish Moss: It is made from seaweed and helps protein particles clump together, producing a clearer beer.
- Egg Whites: This is a clear liquid found within an egg. It is a positively charged fining agent that attracts negatively charged particles such as yeast. This makes the yeast particles clump together, leaving behind a clear beer.
Step 12: Transfer to a Secondary Fermenter (Optional)
Some brewers transfer beer to a secondary fermenter, where they add a little sugar to consume the remaining yeast. This helps increase the alcohol content of your beer. However, secondary fermentation is a delicate process that needs much attention.
If you don’t do it correctly, it may contaminate the beer. It also requires other equipment, such as a siphon or a canonical fermenter, which could lead to additional costs. When done correctly, secondary fermentation can allow the beer’s flavor and aromas to mellow. It also leads to a clearer beer.
Step 13: Bottle Your Beer and Store
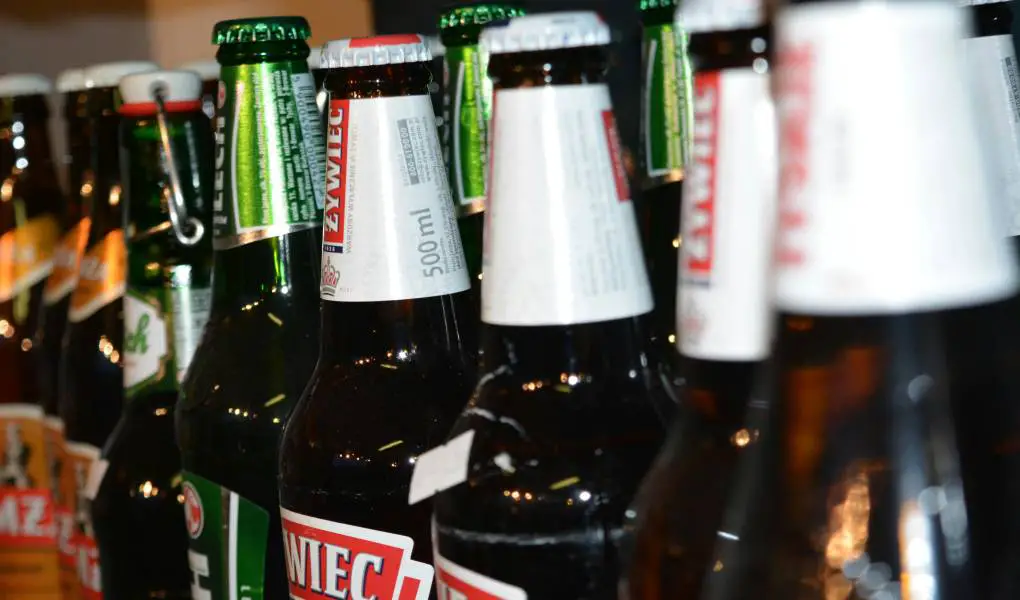
The last stage is bottling and storing your beer in a cool and dry place. A dark glass bottle is ideal for the job as it helps reflect UV light that could interfere with your beer. You can reuse bottles or buy new ones from a local store. Always Make sure the bottles are clean and sanitized.
Pour your beer into an individual bottle and use a capper to seal it properly. Next, store the beer in a cool, dry place. You can store it in a refrigerator if you plan to consume it sooner or later.
Related Questions
Can You Brew Beer Without Adding Hops?
Yes, it is possible to brew beer without adding hops. However, you should remember that hops play a vital role in flavor and aroma. Hops are also responsible for balancing the sweetness in the wort and curbing the growth of bacteria. So, remember that hopped beer is prevalent due to its flavor, aroma, and preservative qualities in brewing.
Is It Safe to Drink Beer Affected by UV Lights?
Exposing beer to UV light can cause it to develop “skunky” flavors due to the breakdown of hop compounds. While it doesn’t pose health risks, it negatively impacts taste. Brown bottles provide better UV protection than green or clear ones. Storing beer in a dark, cool place minimizes UV-induced flavor changes, ensuring a better drinking experience.
Can You Add Yeast to the Fermenting Beer?
Yes, you can add yeast to the fermenting beer to help revive the sluggish fermentation. However, it is ideal to add enough during the first stages of fermentation to ensure a consistent and healthy process.
Conclusion
Fermenting beer at home is an easy process that will consume little time. However, the process requires proper attention as any mess could lead to a poor final product. Ensure an optimal brewing temperature, correct yeast pitching rate, plus proper hygiene during the process. This way, you will have a high-quality beer.