Cold crashing is the process of rapidly chilling beer after fermentation to remove yeast and other particles. It helps improve clarity and flavor, making the brew look and taste cleaner. In this guide, we’ll explain the process, benefits, and tips for better results. This way, you’ll enjoy your beer without worries!
How to Cold Crash Beer
The best proven method of cold crashing beer is to lower the temperature to 35-40 degrees Fahrenheit for 24-72 hours after fermentation. Use a fridge or a temperature-controlled environment to gradually cool the beer. This allows yeast and proteins to settle, making the beer clearer and improving its flavor.
Cold crashing is one of the best ways of making your beer look clearer and taste fresher. By dropping the temperature, particles like yeast and proteins fall out of suspension, giving you a cleaner pour. It’s a simple technique that can take your homebrew’s quality to the next level.

Aside from improving clarity, cold crashing helps reduce off-flavors by settling unwanted compounds. This leads to a more refined taste, allowing the true flavors of the beer to shine. So, how do you cold crash beer to create a clear and refined brew? Well, this step-by-step guide will help you out:
Step 1: Preparing the Fermenter
Before a cold crash, it’s important to properly prepare the fermenter to avoid contamination and maintain the beer’s quality during cooling. Here’s how to prepare the fermenter:
- Clean the fermenter thoroughly to eliminate any residue or unwanted bacteria that could spoil the beer during the process.
- Check the seals on the fermenter to make sure they are airtight. This prevents oxygen from entering and spoiling the beer.
- Sanitize all equipment like siphons and airlocks to avoid introducing harmful microorganisms during the process.
- Use a sanitized airlock or blow-off tube to allow for gas release without introducing oxygen or contaminants.
- Tightly seal the fermenter’s lid to keep it airtight and prevent exposure to outside air or particles.
- Move the fermenter carefully to avoid disturbing sediment, which can affect clarity.
Step 2: Lowering the Temperature
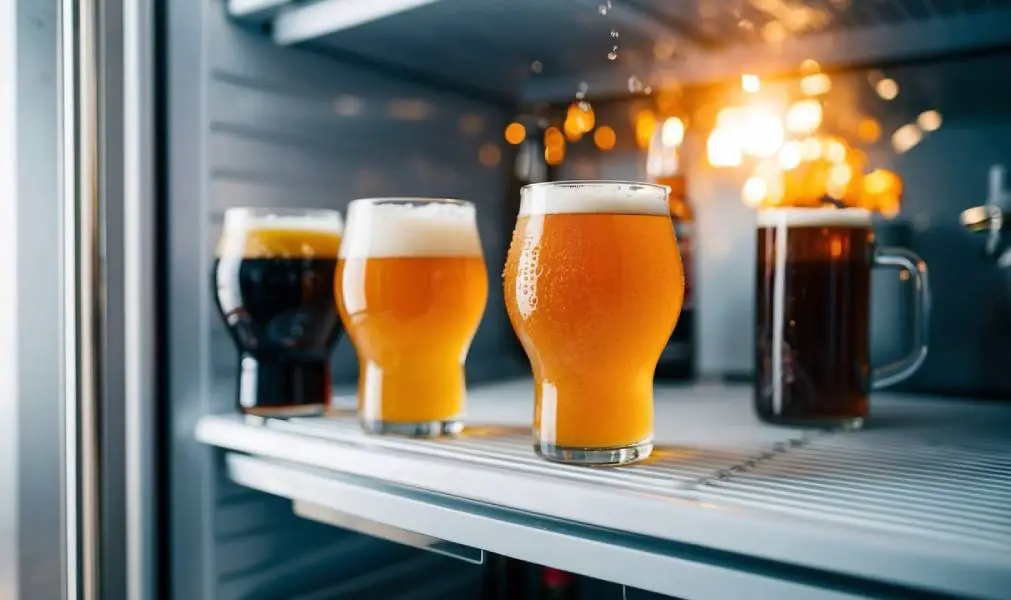
Now that the fermenter is ready, you’ll need to bring it closer to a temperature-controlled environment for cold crash. A fridge, chest freezer with a temperature controller, or a glycol chiller are all effective options. Gradually lower the temperature to 35-40 degrees Fahrenheit for 24 to 48 hours to avoid stressing the yeast and affecting flavor.
Place the fermenter inside your chosen cooling system and monitor the temperature regularly. Lower the temperature by a few degrees each hour to prevent a sudden drop, which could impact the beer’s quality. For precise control, a glycol chiller is ideal, especially for advanced brewers seeking consistent results.
Step 4: Transferring the Beer
Now that the beer has been cold crashed, it’s time to transfer it without disturbing the settled particles. The goal is to move the beer gently, keeping the sediment at the bottom. Using a sanitized siphon or racking cane is the best way to ensure a smooth transfer.
Start by positioning the siphon just above the sediment layer to avoid sucking up any particles. Transfer the beer into bottles or kegs slowly, watching for signs of sediment. Avoid tipping the fermenter, which could disturb the settled particles and cloud the beer.
Remember that there’s still enough yeast in the beer after crashing to enhance natural carbonation in the keg or bottle. Natural carbonation enhances beer’s texture and flavor by creating a softer, more authentic mouthfeel.
How to Cold Crash Without Using a Fridge or a Chiller
At times, you may not have a fridge, glycol chiller, or chest freezer, but you want to cold crash beer effectively. You can use ice baths or place the fermenter in a cool, shaded area, like a basement. Consistently adding ice around the fermenter helps lower the temperature gradually without expensive equipment.
If it’s winter, place the fermenter outdoors or in a cold garage to help achieve similar results. Monitor the temperature using a thermometer, aiming for 35-40 degrees Fahrenheit. While it may take more effort, these methods can still effectively clear your beer with a bit of patience. All you need to do is make sure the beer does not freeze.
Tips for Successful Cold Crashing
Cold crashing can significantly improve your beer’s clarity and taste. However, it requires attention to detail for the best results. Here are some tips that can help:
- Avoid oxygen exposure by using airtight seals during the process to prevent oxidation, which can affect beer flavor.
- Cool the beer gradually to avoid stressing the yeast or causing off-flavors due to sudden temperature changes.
- Sanitize all equipment before handling the beer to minimize the risk of contamination and spoilage during the process.
- Monitor the temperature closely to maintain the optimal cold crash range of 32-40 degrees Fahrenheit for clearer beer.
- Transfer beer carefully by siphoning slowly to avoid disturbing settled particles at the bottom of the fermenter.
- Use beer-fining agents such as gelatin, egg whites, isinglass, bentonite, or casein to help remove yeast or protein haze.
Frequently Asked Questions
Is Cold Crashing Right for Every Beer?
You don’t necessarily need to cold crash every beer. It only works best for styles where clarity is important, like lagers, pale ales, and IPAs. However, for hazy styles like New England IPAs or some stouts, crashing may reduce the intended cloudiness and impact the desired mouthfeel.
Which Are the Common Mistakes to Avoid When Cold Crashing Beer?
Common mistakes to avoid when cold crashing beer include crashing too early before fermentation is complete. This can cause carbonation issues. Avoid exposing the beer to oxygen during the process, as it can lead to oxidation. Lastly, don’t lower the temperature too quickly, as this can stress the yeast.
What Is the Best Way to Avoid Oxygen From Entering Your Beer?
The best way to avoid oxygen entering your beer is to use an airtight fermenter with a well-fitted airlock. Transfer the beer using a sanitized siphon, keeping the tubing submerged to minimize splashing. Avoid opening the fermenter unnecessarily during cold crashing or bottling to prevent oxygen exposure.
Conclusion
Cold crashing beer can be a game-changer for clarity and taste, giving your brew a clean, crisp finish. Don’t hesitate to experiment with this simple technique to see how it transforms your next batch. Give cold crash a try and enjoy the difference it can make in your homemade beer.