Wondering how to clean beer bottle caps for your next DIY project or collection? It’s a simple process that can restore caps to their original shine. With just a few basic household items, you can remove dirt and grime. Cleaning bottle caps is both easy and rewarding for any beer enthusiast.
How to Clean Beer Bottle Caps
The first step in cleaning the beer bottle caps is to put them in warm, soapy water and let them soak for about 30 minutes. Scrub each cap gently with a toothbrush to remove dirt or sticky residue. Rinse them under cool water and dry thoroughly. Once cleaned, apply a sanitizer to make sure they are ready for reuse or display.
However, there are things you need to avoid when cleaning beer bottle caps. First, you must not use harsh chemicals, which can damage the cap’s finish or color. The second thing is to avoid using scented detergents when cleaning the caps, as this can taint the beer’s flavor. Lastly, don’t soak them too long to curb the introduction of rust.
Cleaning Beer Bottles Caps Step by Step
The following step by step guide will help you clean the caps effectively:
Step 1: Preparing the Work Area
A good and clean working area will make your work easy. Your working area should have:
- Clean Surface: Begin by cleaning and sanitizing your work surface to prevent contamination during the cleaning process.
- Adequate Lighting: The are should have proper lighting to identify any dirt, rust, or damage on the caps effectively. It’s better to do the work during the day when you have adequate lighting.
- Organized Workspace: Have all your cleaning supplies and tools within easy reach for a seamless cleaning process.
- Ventilation: If working with sanitizers or cleaning agents, be in a well-ventilated area to avoid inhaling fumes.
- Drying Area: Set up a designated area for the caps to air-dry completely after cleaning and sanitizing.
Step 2: Gathering the Necessary Supplies
You will need to have all the needed suppliers ready for the work. Here is what you need:
- Soap or Detergent: Use a mild soap or detergent to pre-clean the caps. The detergents help break down initial dirt and residues. Still, you can use other commercial homebrew equipment cleaners. Powdered Brewery Wash (PBW) is one of the perfect commercial homebrew equipment cleaner.
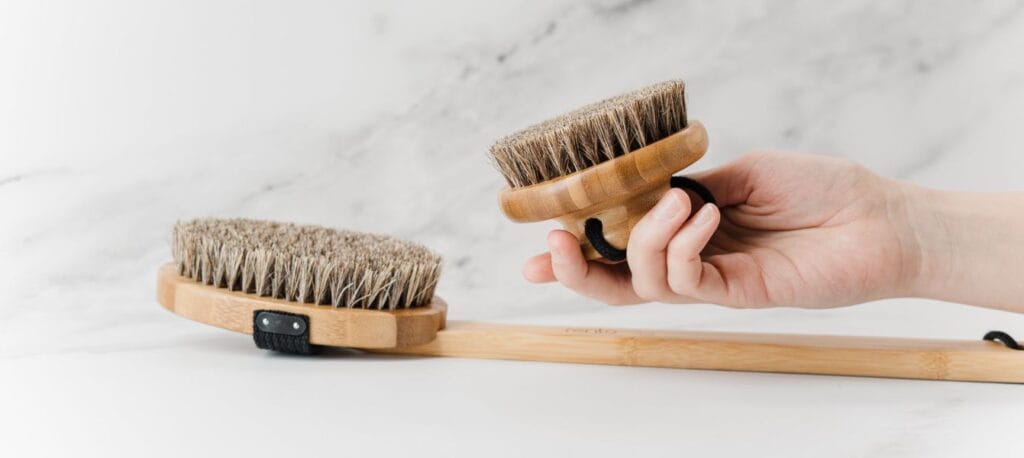
- Bottle Brush: You will need this for scrubbing and cleaning the inside and outside of the caps. It works well for caps with stubborn grime.
- Sanitizer or Disinfectant: Choose a brewing-approved sanitizer to eliminate any bacteria or contaminants on the caps. You can use Star San sanitizer (available at the nearby store or online).
- Clean Cloth or Paper Towels: For drying the caps after cleaning.
- A bucket: Get an ideal bucket that will hold enough cleaning solution. You should have two, one for holding cleaning solution and one for rinsing.
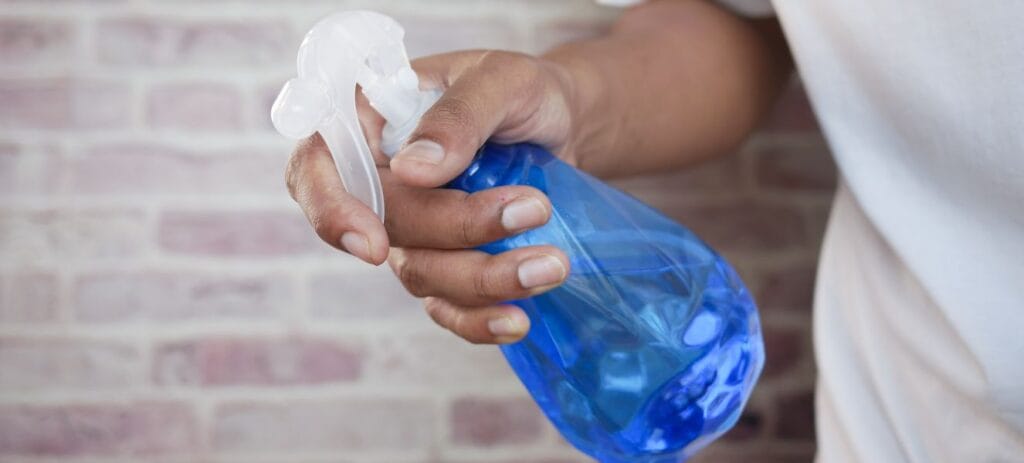
- A sprayer: You will need this to spray the sanitizer after cleaning.
- Water Source: The whole process needs water. So, have have enough water (tap water is ideal).
Step 3: Sorting and Organizing the Caps
Start by inspecting each cap for damage or rust. Discard any compromised caps to ensure the quality of your brew. Organize the remaining caps systematically for the pre-cleaning and sanitization process.
Step 4: Pre-cleaning Preparation
This is an important step as it determines the outcome of the cleaning process. You want your beer bottle caps to be extremely clean. Here is what to do:
- Soaking in Warm, Soapy Water: Submerge the bottle caps in warm water with a mild soap or detergent to loosen initial dirt and residues. This can take up to 4 hours. If you have time, let the caps soak overnight.
- Using a Bottle Brush: Employ a bottle brush to scrub and remove stubborn grime from the surface of the caps.
- Inspecting for Residues: Check each cap for any remaining residues and repeat the pre-cleaning process if necessary.
- Rinsing: Rinse the caps with clean water to remove soap or detergent.
Step 5: Sanitizing the Beer Bottle Caps
The first thing to do is choose a brewing-approved sanitizer, such as Saniclean or Star San. Ensure complete coverage by immersing the caps in the sanitizer solution. Still, you can lay them on a paper towel with the inside of the cap facing upwards and spray. This helps eliminate bacteria or contaminants.
Step 6: Drying and Storing the Bottle Caps
After sanitization, You must make sure the caps are dry. Use a clean cloth or paper towels to absorb any residual moisture and let the caps to air-dry. Each cap should dry completely to prevent contamination and rusting. This step is critical for maintaining the hygiene and quality of your homebrewed beer.
After all the caps are dry, store them in a clean and airtight container. Keep the container in a cool, dark place to prevent exposure to sunlight and dust. This proper storage ensures the caps remain sanitized and ready for use in your next brewing session.

Tips for Efficient and Effective Cleaning
There are tips you can use to clean the caps effectively when you have limited time:
- Batch Cleaning: Organize caps for bulk cleaning to save time.
- Time-Saving Tools: Utilize tools like bottle cap sterilizers or ultrasonic cleaners for efficient and advanced cleaning. This might be expensive, but works faster and is more efficient.
- Regular Inspection: Conduct routine checks for rust or damage to ensure consistent cap quality.
- Establish a Cleaning Schedule: Set a regular cleaning routine to maintain a steady supply of sanitized caps.
Common Mistakes to Avoid
There are some common mistakes you need to avoid when dealing with bottle caps. These mistakes can also alter the flavor of your beer. Avoid the following:
- Using Harsh Chemicals: Avoid strong chemicals that can leave residues affecting beer taste.
- Inadequate Drying: Ensure complete drying to prevent moisture-related contamination.
- Neglecting Inspection: Regularly check for rust or damages and discard the compromised caps.
- Ignoring Cleanliness: Recognize the critical role of cleanliness in brewing.
- Reusing Damaged Caps: Discard caps with visible damage to maintain beer quality.
Frequently Asked Questions
How Often Should You Clean Bottle Caps?
You should clean bottle caps after each use, especially if you plan to reuse or display them. Regular cleaning prevents dirt, sticky residue, and rust buildup. If you’re storing caps for a project, give them a quick wipe before storing. Occasional cleaning keeps them in good condition over time.
Is It Necessary to Clean Commercial Bottle Caps?
It’s not necessary to clean commercial bottle caps unless you plan to reuse or collect them. For drinking purposes, they are already sanitized during the bottling process. However, if you are saving them for crafts or projects, cleaning helps remove dirt and residue. A quick clean keeps them looking fresh.
Can Molds Grow On Beer Bottle Caps?
Yes, molds can grow on beer bottle caps, especially if they are exposed to moisture or left in damp conditions. Mold thrives in environments where residue or moisture is present. Regular cleaning and drying of caps can prevent mold growth. Keeping them in a dry place helps avoid this issue altogether.
Conclusion
Cleaning beer bottle caps is a quick, effective way to maintain their quality for reuse or display. With a simple soak, scrub, and proper drying, they stay free of dirt and rust. Avoid harsh scrubbing and long soaking to preserve the caps’ appearance. Regular cleaning ensures they remain in great condition.