Mead is one of the oldest and most cherished beverages, loved for its sweet, honey-forward flavors. Adding carbonation can transform this ancient drink into a sparkling delight, enhancing its taste and mouthfeel. So, understanding how to carbonate mead can open up a world of new flavors and drinking experiences.
How to Carbonate Mead Step by Step
Sparkling mead transforms an ordinary drink into a lively, effervescent experience. The bubbles enhance the mouthfeel and bring out subtle notes of fruit, honey, and spice, creating a more complex flavor profile. Carbonated mead feels fresher and more vibrant and adds a touch of celebration.
Carbonation also provides a visual appeal, with streams of bubbles dancing in the glass that makes each sip feel more refreshing. This bubbly transformation elevates the drinking experience, perfect for special occasions or simply enjoying a glass at home. Creating a sparkling mead is satisfying and achievable with the right techniques.
The following step-by-step guide will help you carbonate your mead and enjoy its sparkling nature:
Step 1: Understanding Mead Carbonation
Mead carbonation involves dissolving carbon dioxide into the liquid, creating bubbles that add fizz and effervescence. This process happens when yeast ferments sugars (it can be priming sugar), releasing CO2, or when CO2 is directly added to the mead. Carbonation enhances the texture, making the drink feel lighter and bringing out more nuanced flavors.
There are three levels of carbonation in mead, ranging from still (no bubbles) to petillant (lightly carbonated) and sparkling (highly carbonated). Each type offers a unique drinking experience, with still meads feeling rich and smooth, while sparkling meads deliver a crisp, refreshing sensation. The choice depends on personal taste and the mead style.
Step 2: Understand the Methods of Carbonating Mead
There are two primary methods to carbonate mead: natural carbonation (bottle conditioning) and forced carbonation. Each technique offers unique benefits, allowing you to choose based on your equipment, time, and desired carbonation level.
Natural Carbonation (Bottle Conditioning)
Natural carbonation involves adding a controlled amount of sugar to the finished mead, which is then sealed in bottles. The residual yeast consumes the sugar, creating carbon dioxide and naturally carbonating the drink. This traditional method can enhance the flavors by allowing the mead to age further in the bottle.
The process requires patience, as the carbonation develops over several weeks. It’s important to use bottles that can withstand pressure, such as those designed for sparkling wine or beer. While this method adds character and complexity, careful attention to measurements and sanitation is needed to avoid over-carbonation or off-flavors.
Pros
- Enhances Flavor Development: Bottle conditioning allows the mead to age and develop more complex flavors over time.
- Traditional Method: Many mead makers prefer this method for its historical authenticity and natural approach.
- Cost-Effective: It doesn’t require expensive equipment, making it accessible for beginners.
Cons
- Time-Consuming: The carbonation process can take weeks, requiring patience and planning.
- Risk of Over-Carbonation: If too much sugar is added or fermentation isn’t complete, bottles can explode.
Forced Carbonation
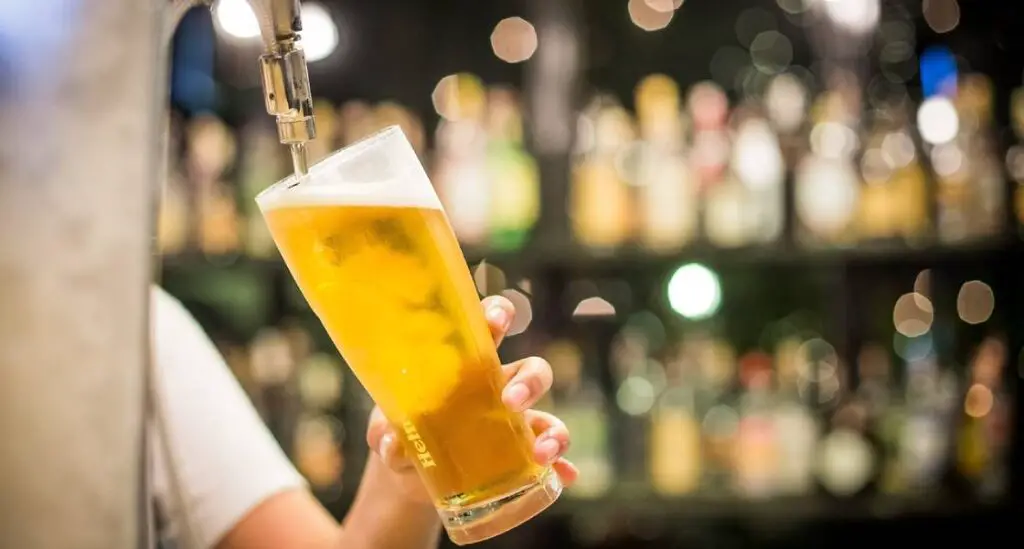
Forced carbonation involves directly infusing carbon dioxide into the mead using a kegging system and CO2 tank. This method is much faster, and consistent carbonation levels within a few days. It’s an excellent method for those who want more control over carbonation and prefer a quicker turnaround time.
A kegging system can be more efficient, especially for larger batches of mead. Adjusting the carbonation level is easier since you can increase or decrease the CO2 pressure as needed. Forced carbonation requires more equipment and initial investment, making it a choice more suited to experienced homebrewers.
Pros
- Quick Results: Carbonation can be achieved in days rather than weeks.
- Precise Control: Easily adjust carbonation levels to suit taste preferences.
- Consistency: Forced carbonation provides uniform bubbles across the entire batch.
Cons
- Equipment Costs: Requires a CO2 tank, regulator, and keg system, which can be expensive.
- Less Natural Flavor Development: Forced carbonation doesn’t allow for the same aging process as bottle conditioning.
Section 3: Gather Equipment and Ingredients Needed
You will need the following equipment in each method you use to carbonate the mead:
For Natural Carbonation
- Bottles (suitable for pressure)
- Priming sugar (honey, cane sugar, or dry malt extract.)
- Bottle caps and capper
- Hydrometer
- Brewing Sanitizer (StarSan is ideal)
For Forced Carbonation
- CO2 cylinder with pressure gauge
- A keg (Cornelius or soda keg)
- A Brewing Sanitizer
- Connectors, horses, and fittings
- Carbonation stone (optional for faster results)
Section 4: Step-by-Step Guide to Carbonating Mead
For Natural Carbonation
Follow these ideal steps when going the natural carbonation way:
- Fermentation Check: Make sure fermentation is complete using a hydrometer to avoid unwanted bottle explosions. You’ll notice the fermentation is complete when the gravity reading is 1.00.
- Priming: Calculate the right amount of priming sugar needed based on the mead’s volume and desired carbonation level. Ideally, a 10-gallon mead will require 10 to 15 ounces of priming sugar. However, you can make adjustments depending on the level of carbonation you need.
- Bottling: Sanitize bottles, add priming sugar solution, and fill with mead. Remember to leave adequate headspace.
- Capping: Seal the bottles with caps and store them in a cool, dark place.
- Conditioning: Allow the bottles to carbonate for 2-4 weeks, checking occasionally for signs of over-carbonation.
- Testing: Chill a bottle and open it to check carbonation levels. If satisfied, refrigerate the rest to halt further fermentation.
For Forced Carbonation
- Transfer Mead to Keg: Make sure the keg is sanitized and free from contaminants (StaeSan is ideal). You’ll need a horse pipe to siphon mead from fermenter to the keg.
- Connect CO2 Tank: Attach the CO2 line to the keg and set the regulator to the desired pressure (typically 20-30 PSI for carbonation).
- Carbonation Process: Agitate the keg gently to help dissolve CO2 into the mead (optional), or let it sit for a few days under pressure.
- Testing and Adjusting: Taste the mead to check carbonation levels. Adjust pressure if necessary.
- Serving: Once carbonation is at the desired level, reduce the pressure to serving levels (10-12 PSI) and enjoy.
Step 5: Troubleshooting Common Issues
Even with careful planning, carbonation issues can arise, affecting your mead’s taste and quality. Understanding common problems and how to troubleshoot them can help maintain consistency and enjoyability in your brew.
- Flat Mead: If your mead is flat, it may be due to incomplete fermentation, insufficient priming sugar, or improper sealing. Check the yeast’s activity and ensure bottles are properly capped. Adding more priming sugar or increasing CO2 pressure in forced carbonation may help.
- Over-Carbonation: Excessive carbonation can cause gushing or even bottle explosions. This usually happens from adding too much priming sugar or bottling too early. To fix this, release some pressure by slightly opening the bottle cap or storing the bottles at a cooler temperature.
- Off-Flavors: Off-flavors can occur due to contamination or improper fermentation. Make sure all equipment is thoroughly sanitized before use. If off-flavors develop, consider letting the mead age longer to see if the flavors mellow, or blending with another batch to balance out the taste.
- Inconsistent Carbonation Levels: If some bottles are more carbonated than others, it might be due to uneven distribution of priming sugar or variations in bottle capping. Mix the priming solution thoroughly before bottling, and use a reliable capping tool to secure a consistent seal on each bottle.
- Cloudy Mead: Cloudiness often occurs from yeast sediment left behind during fermentation or conditioning. To reduce this, use a fining agent before bottling and be cautious when pouring to avoid disturbing the sediment. Cold crashing your mead before bottling can also help clarify it.
Frequently Asked Questions
What Is the Alcohol Content of Mead?
The alcohol content of mead typically ranges from 7% to 20% ABV, depending on the recipe, fermentation process, and desired style. Lighter meads, known as hydromels, have lower alcohol content (3% to 7% ABV), and standard mead ranges from 7% to 14%ABV. Stronger meads, such as sack meads, can reach higher levels of 14% to 20%ABV.
Can You Pair Mead With Food?
Yes, you can pair mead with food. Light, dry meads complement seafood and salads, while sweet meads pair well with desserts and spicy dishes. Spiced meads enhance rich, hearty meals like roasted meats. Experimenting with different mead styles can enhance and complement various food flavors.
Does Mead Expire?
Mead does not expire in the traditional sense, but its quality can change over time. Properly stored and unopened mead can last for many years (4 to 5 years) and may even improve with age. However, if exposed to heat, light, or oxygen, mead can spoil or develop off-flavors, affecting its taste and drinkability.
Conclusion
Carbonating mead adds a refreshing twist, enhancing both the texture and flavor of this ancient beverage. Whether using natural bottle conditioning or forced carbonation, each method offers unique benefits. With the right techniques, you can create a sparkling mead that delights the senses and complements any occasion.


