Bottling beer at home is a rewarding process that brings your brewing journey full circle. It’s the final step where your hard work transforms into something you can share and enjoy. Learning how to bottle beer at home is simple, fun, and makes your beer last longer while tasting its best.
How to Bottle Beer at Home Step by Step
The first thing to do when you want to bottle beer at home is to make sure the fermentation is complete. You want to check that the fermentation is fully finished to avoid unwanted pressure in the bottles. Bottling beer too early can also result in excessive carbonation, causing the bottles to explode. Use a hydrometer to confirm consistent readings over a few days. This simple step keeps your beer safe and tasty.
After confirming that the fermentation is complete, gather the materials needed to bottle your beer. For instance, you will need beer bottles, caps, auto-siphon, priming sugar, and a sanitizer. Next, siphon the beer off the fermenter into a priming bucket or a carboy and begin bottling.
However, this is just a tip of the iceberg as far as beer bottling is concerned. There is a detailed step-by-step guide every homebrewer should learn before bottling beer:
Step 1: Gather the Necessary Equipment
The first step is having all the needed materials to help you carry out the process. You’ll need the followong:
- Bottling bucket: The bucket or carboy to hold the beer that has been fermented. It is in this bucket that you will add the priming sugar.
- Caps: Caps help prevent contaminants and oxygen from entering the beer. Remember that oxygen can cause undesirable compound called aldehydes that interferes with beer’s flavor.
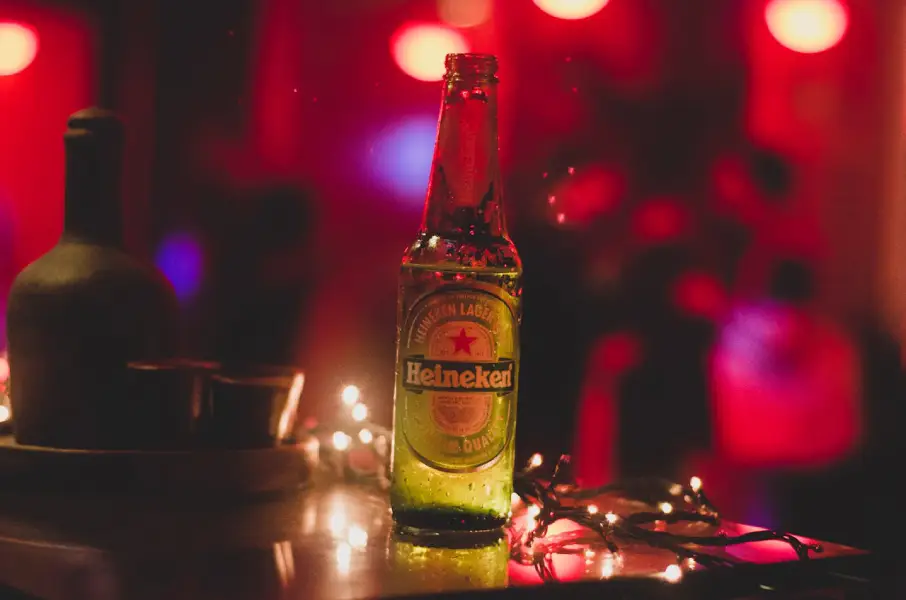
- Bottles: The bottles help store and condition your beer for future use. Ensure you inspect your bottles to ensure they are in good condition. Bottles tend to chip and crack at the bottom or around the mouth. Also, get a heavier brown or dark bottle to protect your beer from UV light. UV light can react with hops in beer to produce a skunky smell.
- Bottle capper: The capper helps seal the caps tightly to prevent oxidation.
- Priming sugar: This is added before bottling to help in carbonation and add flavor and aroma to the beer. Priming sugar can also help increase the beer’s alcohol content since the remaining yeast will consume the sugars, increasing the ABV.
- Auto-siphon: Auto-siphon is the safest way to transfer beer to the priming bucket.
- A hydrometer: A hydrometer is used to determine whether fermentation is complete or not. You will do this by regularly taking the gravity of the beer.
- Fining agents: Fining agents help clarify the beer and remove yeast and protein haze. For instance, you can use isinglass, Irish moss, whirlfloc tablets, or gelatine. Remember to add these fining agents 5 to 7 days before bottling beer.
- Sanitizer, ammonia, and jet bottle washer: These materials will help clean and sanitize the bottles. Ammonia helps remove bottle labels.
Step 2: Clean and Sanitize the Equipment
After gathering all the needed materials, you must make sure they are free from germs by sanitizing them. There are different ways to sanitize the equipment. You can use non-rinse sanitizer, rinse sanitizer or boil the equipment to kill germs. Always use an odorless sanitizer to avoid introducing unwanted scents or smells to the beer.
Use a jet bottle washer to clean up used bottles. These bottles sometimes have clumps of molds at the bottom, which can be challenging to clean. A jet bottle washer contains a valve that activates when you push the bottle over it. This helps remove residue and debris easily.
If you are using old bottles with labels, you will need ammonia to help remove the labels. Soak the recycled bottles overnight in a solution of water and ammonia to help loosen the sticky labels. However, remember to wear gloves and work in an open area, as ammonia gas can harm your body.
Step 3: Transfer the Beer Into a Priming Bucket or Carboy
Before transferring beer into a carboy, use your hydrometer to check if fermentation has stopped. After confirming, use auto-siphon to transfer your beer to a carboy. Ensure you carry out the process in a dark place to avoid exposing beer to UV light.
Next, add priming sugar to help with carbonation. Ensure you calculate the weight of the priming sugar needed to achieve the best carbonation level. You can use an online calculator to know the amount of sugar you need for the beer.
Step 4 Bottle the Beer and Use a Capper to Seal
The next step is to fill the beer into the bottle to the required level. Remember that bottles need an ideal amount of headspace at the top to allow for proper carbonation. It is recommended to leave about 1-inch to 1 1/2-inch of headspace in the neck of the bottle. This space is enough for pressure and carbonation.
After filling the bottles, use a bottle capper(if using metal beer caps) to seal the caps tightly. Sealing the bottle with caps ensures no contaminants and oxygen enters your beer to alter the flavor.
Step 5: Store the Beer
After you have bottled and capped the beer, you need to store it in a cool, dry place for about two weeks. The two-week period allows yeast to consume the priming sugar, enhancing carbonation and increasing beer’s alcohol content. If you are planning to consume the beer soon, consider cold storing it in the refrigerator.
Benefits of Bottling Beer at Home
Now that you understand how to bottle beer at home, it’s also ideal to understand the benefits that come with it:
- Extended Shelf Life: Bottling beer helps preserve its freshness and flavors longer than kegging or other storage methods.
- Portability: Bottled beer is easily transportable. This allows you to share your homemade brews with friends and family or take them to parties and events.
- Aging Potential: Certain beer styles benefit from aging, and bottling allows you to store and age your beer over time.
- Variety and Experimentation: Bottling beer at home gives you the freedom to experiment with different recipes, flavors, and styles.
- Gift Giving: Bottled beer makes for a thoughtful and personalized gift for beer enthusiasts or special occasions.
- Control over Carbonation: Bottling allows precise control over carbonation levels, allowing you to tailor the carbonation to suit your preferences.
- Labeling and Branding: Bottling beer allows you to create custom labels and showcase your brewing skills.

Related Questions
How Do You Know When Beer Is Ready for Bottling?
The best way to know when your beer is ready for bottling is checking the gravity regularly. If you get a stable reading for two to three consecutive days, your beer has finished fermenting and is ready for bottling.
How Do You Store Beer After Bottling?
It is recommended to store beer at fermentation temperature for at least two weeks. After two weeks (when carbonation and fermentation have stopped), store the beer in a cool dark place. You can also store your beer in a refrigerator if you plan to consume it soon.
What Is Skunked Beer?
A skunked beer is a bottled beer that has undergone a chemical reaction when exposed to UV lights. When UV lights penetrate a beer container (in this case, bottle), it reacts with alpha acids found in hops to produce a skunky smell. This leads to an unpleasant aroma. Always store beer in dark brown glasses to avoid light strikes.
Conclusion
Bottling beer is an easy process that requires less effort to carry out. However, you need to master the art to achieve the best result. Always choose the right bottles (dark and thick bottles), sanitize the materials you will use, and store the bottled beer in a cool dark place. Happy bottling, and remember to drink responsibly.