Achieving the perfect carbonation in homebrewed beer requires patience and know-how. How long it takes to carbonate beer in a bottle depends on factors like temperature, sugar levels, and bottle conditioning time. Getting this timing right means the difference between a flat beer and one with just the right fizz.
How Long to Carbonate Beer in a Bottle?
Carbonating beer in a bottle usually takes 2 to 4 weeks. To achieve the best results, store the bottles at 70°F, as this temperature promotes ideal carbonation. During this period, the yeast works on the priming sugar to create CO2, giving the beer its lively bubbles. Patience is key for a balanced result.
Ales carbonate faster than lagers, often finishing in just two weeks. This is because ales ferment at warmer temperatures, which keeps the yeast more active. Lagers take longer due to their cooler fermentation, which slows down carbonation. The temperature difference explains why ales reach full carbonation quickly.
Healthy yeast is important for consistent carbonation, as active yeast efficiently converts sugar into CO2. If the yeast is weak or old, it may struggle, leading to flat beer or uneven bubbles. Good yeast doesn’t just improve carbonation but also impacts flavor and texture. Using viable yeast makes a noticeable difference.
The Science Behind Carbonation and Its Effect on Beer
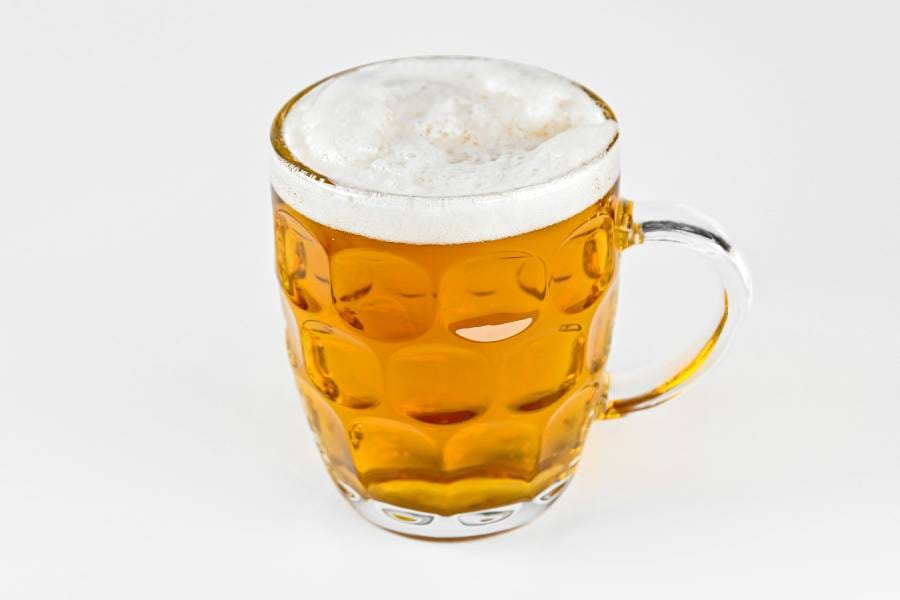
Beer carbonation is a fascinating dance of science initiated by yeast during fermentation. As yeast consumes sugars (priming sugar), it produces carbon dioxide, creating bubbles in the beer. This effervescence enhances the beer’s mouthfeel and aroma, creating a refreshing drinking experience.
Carbonation levels impact beer taste. Adequate carbonation creates a lively and crisp sensation. Additionally, undercarbonation results in a flat and lackluster profile. Over carbonation, on the other hand, can lead to excessive fizziness, altering the beer’s intended flavor balance.
How to Carbonate Beer in Bottles
After understanding the effects of carbonation in beer, you need to know how to carry out the process. This will help you enhance the drinking experience as well as provide a lively effervescence.
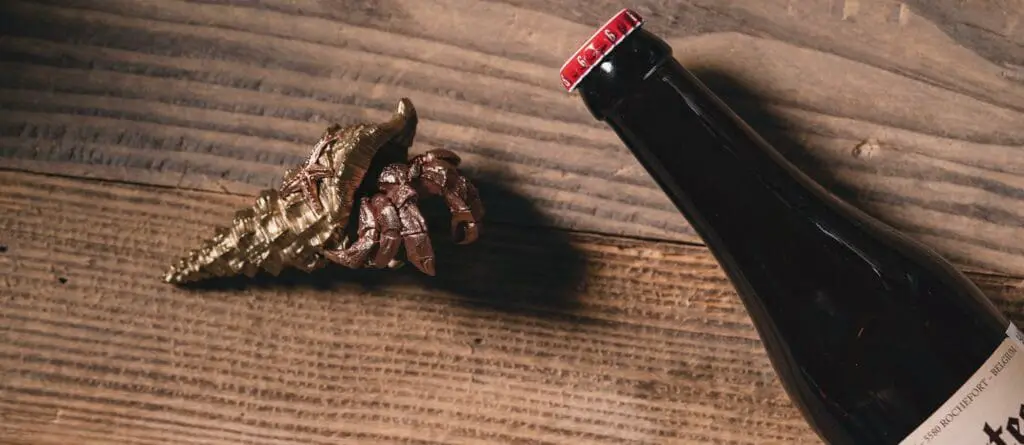
The following steps will help you carbonate your beer effectively:
- Clean and sanitize the bottles and caps thoroughly to prevent contamination. Always use unscented sanitizers to avoid introducing unwanted flavors in your beer.
- Add a precise amount of priming sugar to the beer before bottling. The amount of priming sugar you add will vary depending on your batch. For 1 gallon batch, you will need to combine 2 tablespoons of priming sugar with 1.5 cups of water.
- Fill bottles, leaving some headspace to allow for carbonation.
- Seal bottles with caps to create an airtight environment for fermentation.
- Store bottles in a consistent, appropriate temperature (70 to 75 degrees Fahrenheit).
- Allow 2-4 weeks for carbonation to occur through natural fermentation.
- Open a bottle to check carbonation progress; adjust if necessary (adding the sugar or adjusting the temperature).
- Consider refrigerating bottles for a few days to enhance carbonation stability.
- Record details for future batches, refining your carbonation process over time.
Practical Tips for Optimal Carbonation
When it comes to beer carbonation, you always want to achieve maximum results. However, there are things you must do to achieve optimal carbonation:
- Ideal Storage Conditions: Maintain a consistent temperature during the carbonation period.
- Proper Priming Sugar Measurement: Accurately measure and add the right amount of priming sugar.
- Sanitization: Clean and sanitize beer bottles and caps to prevent contamination.
- Bottling Technique: Carefully fill bottles, leaving appropriate headspace for carbonation.
- Sealing Integrity: Make sure caps are securely sealed to create an airtight environment.
- Temperature Control: Avoid temperature fluctuations during carbonation for best results.
- Avoid Light Exposure: Store bottles in a dark environment to prevent light-induced off-flavors.
- Test Bottles: Open a test bottle periodically to monitor carbonation progress. Do it carefully to avoid interfering with the entire batch.
- Consistent Pouring: Pour beer into a glass with a steady, controlled flow to maintain carbonation levels.
- Documentation: Keep detailed records of the carbonation process for future refinement and consistency.
Alternative Carbonation Methods
There are other ways you can carbonate your beer and still achieve its fizziness. Here are two common ways:
Natural Carbonation in Kegs
Natural carbonation in kegs is the process of allowing carbon dioxide to develop naturally. After transferring beer into a keg, a small amount of priming sugar is often added and allowed to sit for about two weeks.
As the residual yeast in the beer consumes this sugar, carbon dioxide is produced, naturally carbonating the beer over time. This method enhances flavor and mouthfeel. However, achieving consistent carbonation levels may require careful monitoring and experience.
Pros
- Enhanced Flavor: Natural carbonation in kegs may contribute to a smoother, more refined taste.
- Less Equipment: Requires fewer specialized tools compared to forced carbonation.
- Portability: Kegs are more portable than large batches of bottles for social events or gatherings.
Cons
- Consistency Challenges: Achieving consistent carbonation levels can be trickier with natural methods.
- Sediment Concerns: Natural carbonation may lead to sediment settling in the keg. So, you require careful pouring to avoid cloudiness.
Kegging and Forced Carbonation
Forced carbonation is a method of rapidly introducing carbon dioxide into beer by applying external pressure. After the beer is transferred into a keg, CO2 is forced into the keg under pressure (8-12 psi). The pressure dissolves into liquid, which then carbonates beer instantly.
This process provides brewers with precise control over carbonation levels. While faster than natural methods, it requires specialized equipment such as a CO2 tank and regulator, which can be expensive. The result is a consistently carbonated beer with a shorter turnaround time.
Pros
- Rapid Carbonation: You can achieve carbonation in a matter of hours with forced carbonation.
- Precision Control: It allows you to adjust and fine-tune carbonation levels to suit specific preferences.
- Time Efficiency: Ideal for those seeking a quicker turnaround for their carbonated beverages.
Cons
- Learning Curve: Learning the nuances of forced carbonation methods may take some time for beginners.
- Equipment Investment: Requires additional kegging equipment, such as a CO2 tank and a regulator. This can be more costly than bottle conditioning.
Related Questions
How Do You Test Carbonation Level in Beer?
To test the carbonation level in beer, simply open a bottle and listen for a hissing sound. Pour the beer into a glass and observe the bubbles and foam; good carbonation creates a steady stream of bubbles. You can also use a carbonation tester or hydrometer for precise results. Taste is another indicator—well-carbonated beer feels pleasantly fizzy on the tongue.
Can You Use Any Sugar to Carbonate Beer in a Bottle?
Besides corn sugar (dextrose), you can use other sugars like honey or sucrose to carbonate your beer. Like dextrose, these sugars can ferment cleanly, leaving no residual taste. Always remember that precise measurement of the sugar is crucial for achieving optimal carbonation.
What Causes Force Carbonation to Fail?
Forced carbonation may fail due to various factors. Insufficient time, improper pressure, or inadequate agitation can result in undercarbonation. Leaks, dirty equipment, or incorrect CO2 tank levels can also contribute to a failed forced carbonation.
Conclusion
Mastering the art of beer carbonation in bottles requires patience and precision. Understanding the science, considering variables, and embracing best practices ensure a delightful drinking experience. So, as you embark on this journey, savor the anticipation, for the reward is a well-carbonated brew crafted to perfection. Cheers to effervescence!
