Cleaning a dirty beer bottle can make all the difference, whether you’re prepping for homebrewing or reusing it for crafts. Removing grime, labels, and lingering odors can be tricky, but the right approach simplifies the process. With a few household items, you can make bottles look spotless. Let’s see how to clean a dirty beer bottle effectively and make a difference.
How Do You Clean a Dirty Beer Bottle?
To clean a dirty beer bottle, fill a tub with warm water and add a mix of Powdered Brewery Wash (PBW) and StarSan. These cleaning agents break down residue, grime, and old labels effectively. Put the bottles in the tub and let them soak in the cleaning solution for 15–20 minutes.
Soaking helps loosen labels and any lingering dirt, making it easier to rinse away. It also helps the PBW and StarSan penetrate stubborn spots for a deeper clean. After 20 minutes, use a bottle brush or washer to scrub the interior and remove stubborn buildup. Be thorough, ensuring the mixture reaches all areas inside the bottle.
Next, you’ll need to air-dry bottles upside down on a clean rack to allow proper airflow. For final sanitation, spray the inside with Star San Sanitizer, leaving it for one to two minutes to eliminate any bacteria.
Step-By-Step Cleaning Process
The following is a step by step guide that will help you clean the bottles effectively:
Step1: Choose an Ideal Beer Bottle
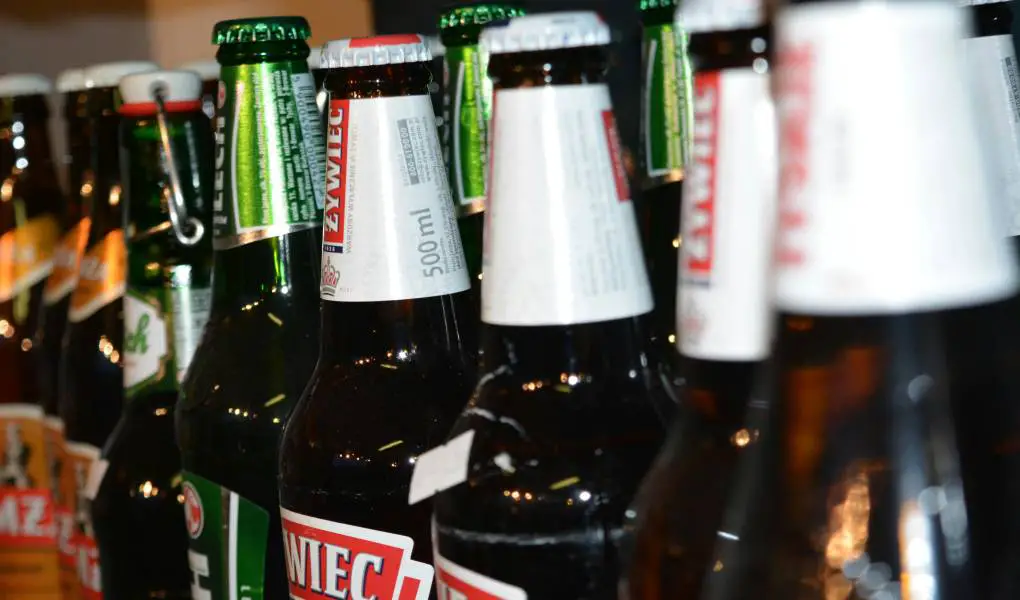
Choosing the ideal beer bottle involves sourcing from reliable suppliers or recycling used ones. Look for bottles with thick amber glass to protect beer from UV light and preserve flavor. Make sure they have pry-off caps for easy resealing. Local homebrew stores or online suppliers often provide suitable options, promoting sustainability in your brewing endeavors.
However, you should not be limited to thick amber glass since other options exist. The following bottles will still do the work but you must be careful when using them to avoid beer contamination or exposure to UV lights:
- Brown Plastic Bottles: Lightweight and shatter-resistant, suitable for outdoor events.
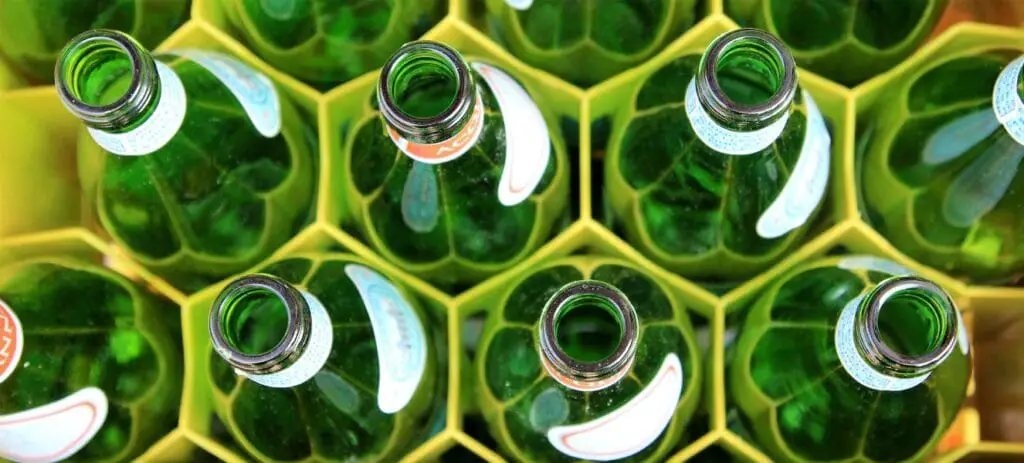
- Green Glass Bottles: Suitable for short-term storage and consumption to prevent light exposure.
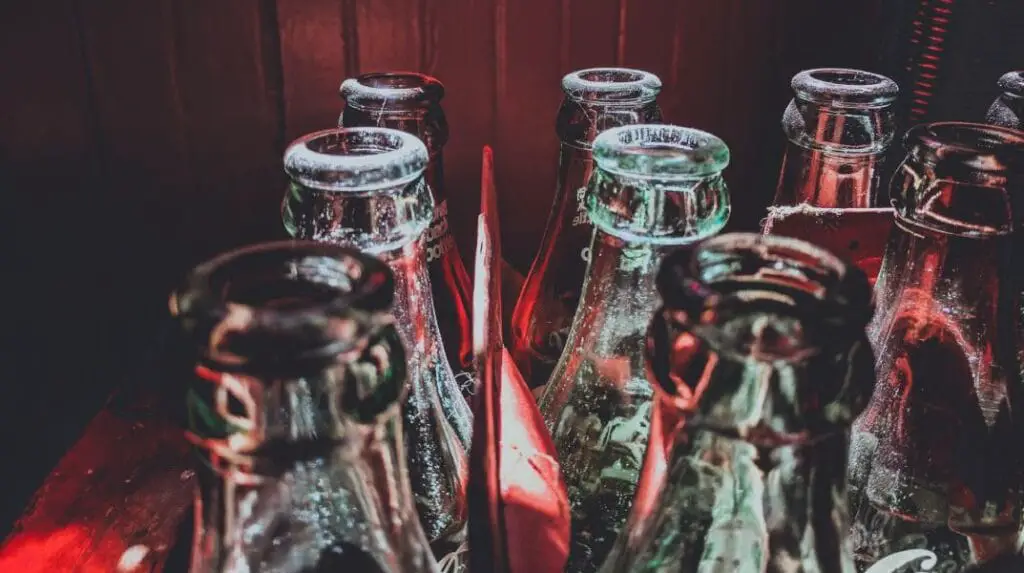
- Clear Glass Bottles: Provides no UV protection, making it less ideal for long-term storage. These bottles are suitable for beers meant to be consumed quickly or those less susceptible to light damage.
- Oxygen Barrier PET Bottles: Prevent oxygen ingress, preserving beer freshness. They are lightweight, shatterproof, and recyclable, making them a convenient alternative for homebrewers.
Step 2: Gather the Cleaning Supply
You will need the following tools and materials:
- Bottle Brush: Helps to scrub away debris and residue from the bottle’s interior. Always use a nylon brush to avoid leaving scratch marks.
- Bottle Washer: Helps to rinse and sanitize bottles efficiently, streamlining the cleaning process.
- Scrubbing Pads or Sponges: Useful for tackling stubborn stains or residues on the bottle’s surface.
- Cleaning Solution or Detergent: A food-grade, beer-safe cleaner to eliminate bacteria, odors, and residues. Some good examples include soap and warm water, bleach, Star San, Pbw (Powdered Brewery Wash), or Oxiclean.
- Sanitizer: Ensures the bottles are thoroughly sanitized before use to prevent beer contamination. Star San or Iodophor can sanitize properly.
- Label Remover or Scraper: Useful for removing labels and adhesive residues from the bottle’s exterior. Besides using bleach, you can also use alcohol, baking soda, and vinegar to help remove the labels.
- Rack or Drying Tree: Facilitates proper drying and storage of cleaned bottles.
- A tong: For retrieving the bottles in hot water.
- Gloves: Protects your hands from cleaning solutions and ensures a hygienic process.
- Inspecting Tools: To identify hidden residues or contaminants, use a magnifying glass or flashlight for a thorough inspection.
- An Ideal Bucket or Tub: You will need a bucket or a tub to hold the cleaning solution. Make sure the one you choose is wide enough to hold more cleaning solution.
Step 3: Soak the Bottles
Fill a tub with hot water and add a scoop of PBW or mild dish soap to loosen the adhesive. Place bottles in the tub, ensuring they’re fully submerged, and let them soak for 15–20 minutes. The hot water helps soften the labels, making them easier to peel away.
If labels still stick, add a few tablespoons of baking soda to the water to help remove the stubborn adhesives. Alternatively, try soaking bottles overnight for extra sticky labels.
Step 4: Clean the Beer Bottles Thoroughly
Now that the beer bottles have soaked, it’s time to focus on thorough cleaning. Follow these steps for a pristine finish:
- Clean the Interior: Utilize a bottle brush to scrub the inside of the bottle thoroughly. Make sure the brush reaches the bottom and corners, eliminating any lingering residues.
- Clean the Exterior: Use a scrubbing pad or sponge to remove any sticky residue and remaining label patches. After all the labels and adhesive are removed, clean the base and neck, as these areas can trap residue.
- Rinse with water: Use clean water to rinse the interior and exterior> Make the soap residue is completely off.
- Inspect for Remaining Debris: Hold the bottle up to the light to identify any remaining particles or residues. Address any lingering spots with targeted scrubbing using the appropriate tools.
Step 5: Sanitize the Bottles and Allow to Dry
There are various ways you can sanitize your beer bottles after cleaning. Here are some of the ways:
Boiling in Hot Water
Here is what to do when boiling the bottles:
- Submerge the cleaned bottles in a pot filled with water
- Bring the water to a rolling boil and maintain it for 10-15 minutes.
- After 15 minutes, retrieve bottles using sanitized tongs or a bottle clamp.
- Allow excess water to drain by placing the bottles upside down on a clean surface.
- Place the bottles upside down and allow them to air dry completely, or use an oven at a low temperature (around 250°F or 120°C) to expedite the process.
Using Star San Solution
- Prepare a Star San solution according to the recommended concentration. Most homebrewers dilute 1 oz of Star San sanitizer per 5 gallons of water.
- Immerse the cleaned beer bottles in the solution for at least 1-2 minutes.
- Star San is a no-rinse sanitizer, so you can let the bottles air dry.
Iodophor Sanitization
- Mix iodophor with water following the instructions on the product.
- Submerge the bottles in the iodophor solution for about 2 minutes.
- Iodophor leaves no flavor or odor and requires no rinsing if the solution is within the recommended concentration.
- Arrange the bottles in a rack and allow to air dry
Sanitizing with Bleach
- Prepare a bleach solution by mixing 1 tablespoon of unscented bleach per gallon of water.
- Submerge the bottles for 2 minutes, ensuring all surfaces are in contact with the solution.
- Rinse the bottles thoroughly with hot water to remove any residual bleach, which can affect the beer flavor.
- Allow to air dry, or use an oven at a low temperature to speed up the drying process.
Common Challenges Faced When Cleaning Beer Bottles
Cleaning the bottles has some challenges you should understand before beginning the process. Here are some of the challenges and how to address them:
- Foul Odors: To address this challenge, rinse with a vinegar solution or use baking soda.
- Mold and Mildew: Here, you will need to Scrub with a mixture of water and hydrogen peroxide to eliminate the mold.
- Label Residue: This is a common challenge that is sometimes hard to handle. Always Use a scraper or adhesive remover (bleach or alcohol) for effective label removal.
- Hard-to-Reach Areas: Here, you will need to utilize a bottle brush with flexible bristles for thorough cleaning.
- Oxidation Stains: To combat this challenge, soak bottles in a mixture of lemon juice and water or use specialized products, such as salt and vinegar, to combat oxidation stains.
- Bottle Breakage: This challenge is common when sanitizing the bottles using the boiling method. To combat this challenge, you will need to handle bottles gently, avoid extreme temperature changes, and inspect for cracks before cleaning.
- Glass Cloudiness: You will need to polish bottles with a mixture of white vinegar and salt, followed by a thorough rinse for clarity. A bleach can also help you polish your bottles.
Benefits of Cleaning Beer Bottles
Here are some of the benefits of cleaning the beer bottles regularly:
- Enhances aesthetics by providing a clear and visually appealing vessel for beer presentation.
- Demonstrates commitment to quality and hygiene in the brewing process.
- Supports the production of reliable and consistent batches.
- Removes residues that can alter the taste of beer.
- Eliminates bacteria and microbes that could spoil the beer.
- Promotes reusing bottles and helps reduce the need for new packaging.
Related Questions
How Do You Clean the Inside of a Dirty Bottle?
To clean the inside of a dirty bottle, fill it with warm water and add a bit of PBW or dish soap. Use a bottle washer to scrub the interior, reaching all areas for a thorough cleaning. Rinse out the solution with warm water to remove residue. Repeat if needed for tough buildup.
What Is the Effect of UV Rays on Beer?
UV rays can make beer taste “skunky” by breaking down compounds in the hops, creating a sulfur-like smell. This reaction happens quickly, especially in clear or green bottles that don’t block UV light effectively. Dark bottles provide better protection from UV rays. To keep beer fresh, store it away from sunlight.
Can You Store Beer in Plastic Bottles?
Yes, you can store beer in plastic bottles, but choose PET bottles designed for carbonated beverages. Ensure a tight seal and avoid prolonged exposure to sunlight to prevent flavor deterioration. Plastic is lightweight and shatter-resistant, making it suitable for certain beer storage needs. Storing beer in plastic bottles should not exceed six months.
Conclusion
Cleaning beer bottles is paramount for maintaining the integrity of your brew. From label removal to thorough sanitization, this guide will help ensure your bottles are pristine. Embrace these practices to safeguard your beer, uphold quality, and elevate your homebrewing experience with each sip. Cheers to cleanliness!